Metal Gear 3D Ultra Deluxe (School Project)
A downloadable game for Windows and Linux
Description
My second game for BUAS is very similar to my first game in BUAS. We were essentially asked to recreate our first block's project (Metal Gear), but in 3D using OpenGL.
Where some students opted to try and recreate Metal Gear Solid, I instead tried to stay accurate to the original Metal Gear MSX game, and simply extend it into the third dimension.
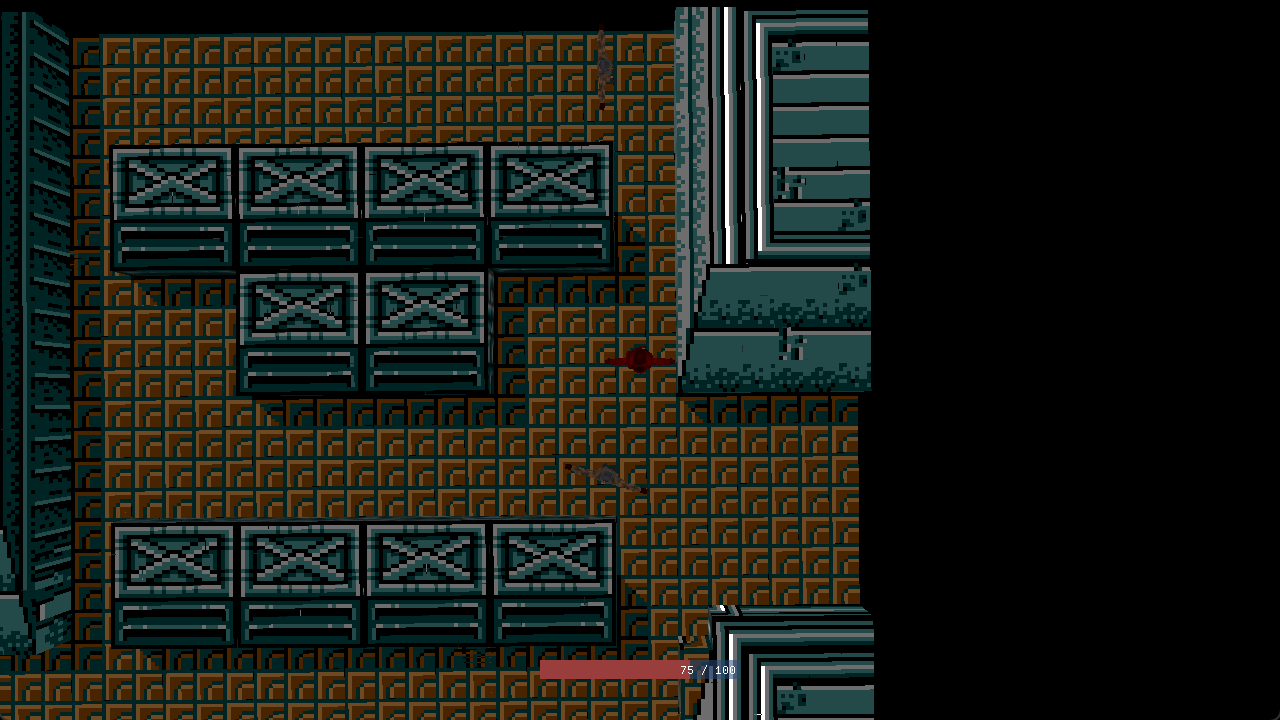
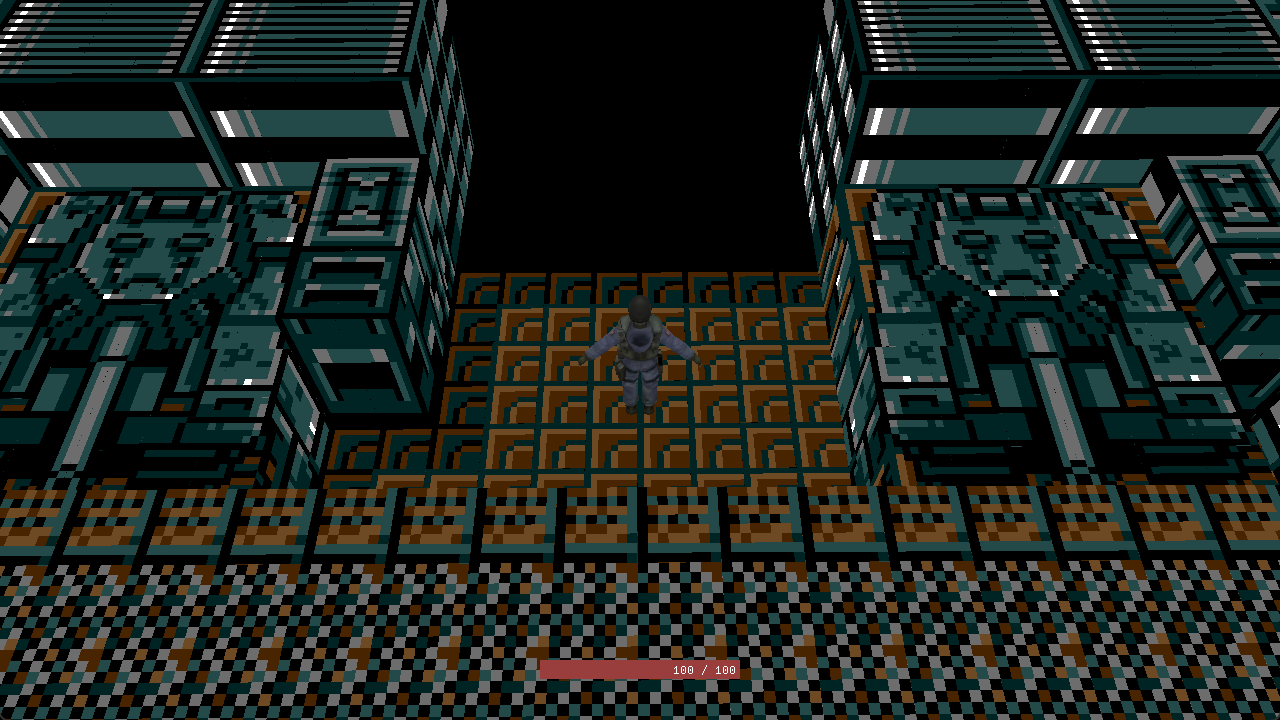
As such, the tile map and rooms are exactly the same, as are the main objectives, gameplay, and enemy behavior. The main added feature is a 3D camera. Of course, there are technical differences, too.
This was also my first time developing cross-platform. Both a Windows .exe version, as well as a Raspberry Pi version are included. Supposedly the game will run on other Linux systems as well, though that has not been tested.
How to Play
Main Controls
Player Controls
- Use the WASD keys to move the player around.
- Use Mouse Movement to move the camera up and down, and turn the player.
- Press Left Click to shoot bullets.
Menu Controls
- You can Hover and Left Click to navigate the menus.
- If a menu is opened, press ESC to quit the game.
- Otherwise, press ESC to open the pause menu (and enable the cursor).
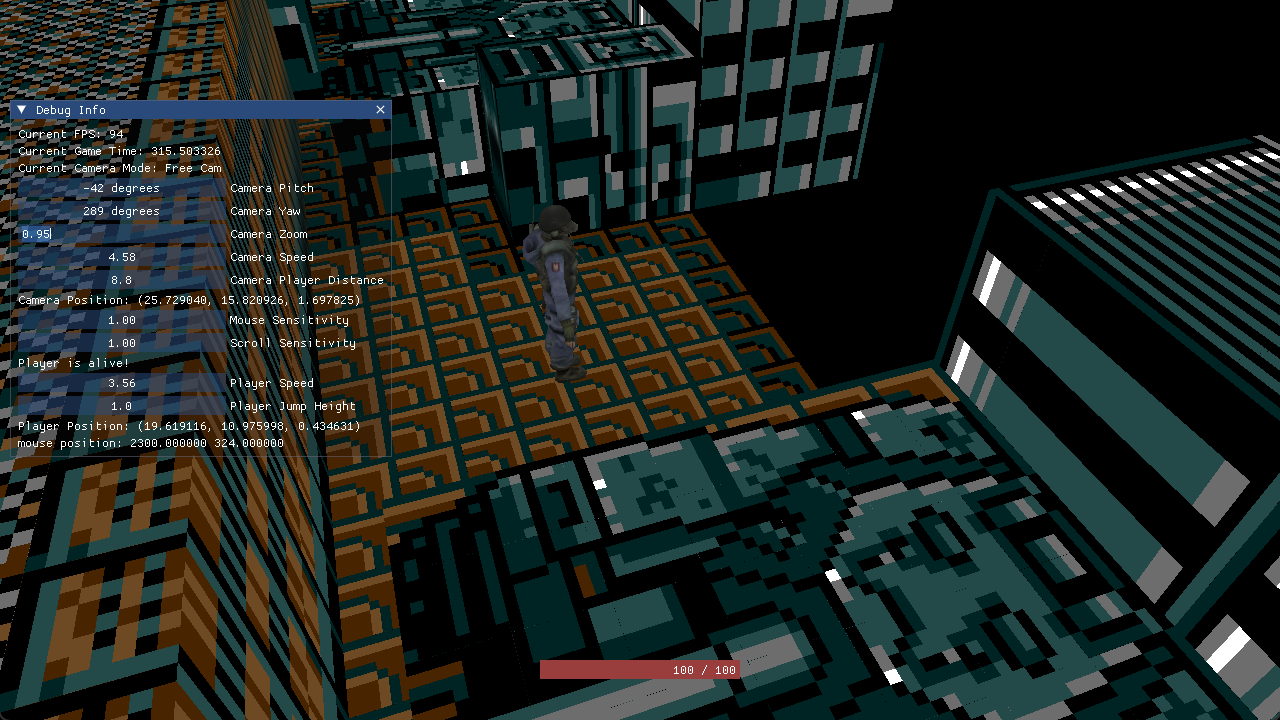
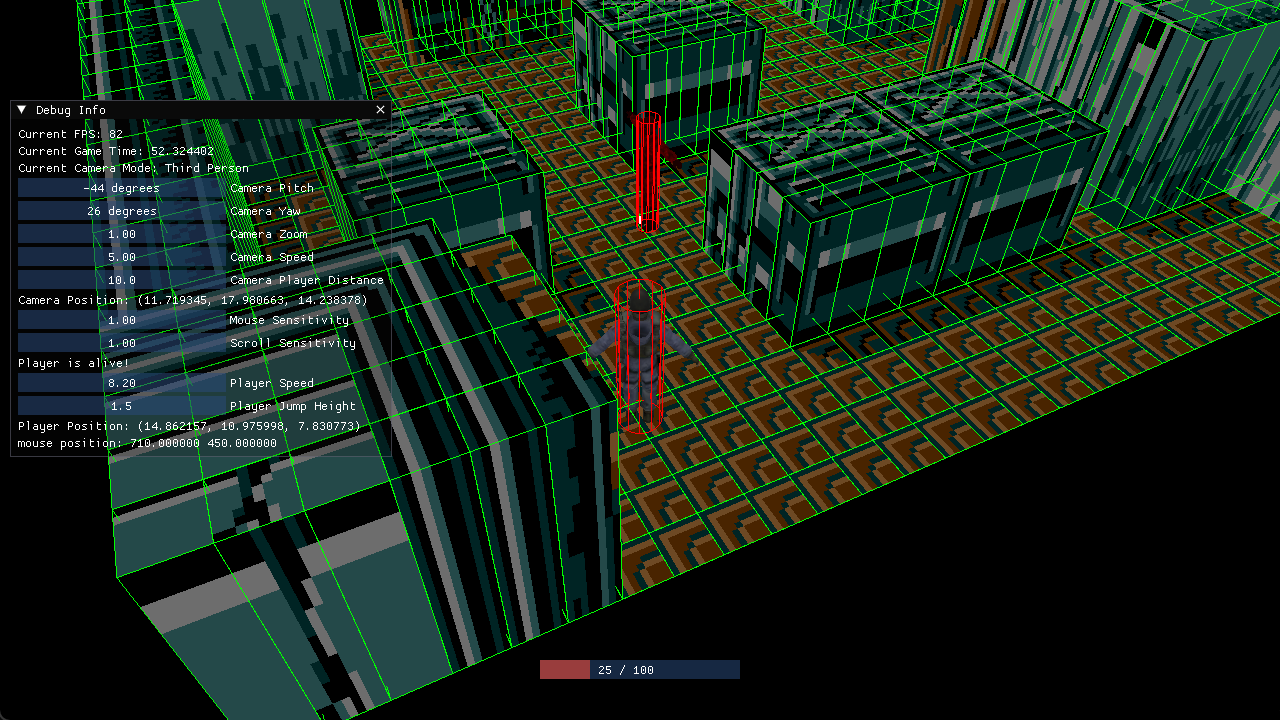
Debug Controls
Currently, there is no release mode version of this game, so these controls are available regardless. If this game were to be expanded into a full game, these controls are only enabled when run in debug mode.
Player Controls
- Use the SPACE key to jump (continuously, you can essentially fly by repeatedly pressing).
- Use K to kill the player.
- You can Scroll to zoom in or out (the zoom level determines your FOV).
- Use TAB in order to swap enable/disable the cursor.
- Use C to swap the camera mode (between 3rd person camera and freecam).
- Use press P to hide/unhide the debug menu.
Debug Menu Controls
When the cursor is enabled and the debug menu not hidden, you can interact with the debug menu:
- You can Hover and Left Click for basic interactions with the debug menu.
- You can Drag drag sliders horizontally to change their value.
- You can also Double-Click a drag slider to manually enter a value (it will be clamped for invalid values).
Freecam Controls
- Use Mouse Movement to change the camera's orientation (change pitch and yaw).
- Use the WASD keys to move forward/back and sideways relative to the camera's orientation.
- Use the SPACE and LEFT SHIFT keys to move respectively upwards and downwards relative to the world.
- Use the Arrow Up and Arrow Down keys to respectively increase and decrease the camera movement speed.
External Tools/Libraries
- This game makes use of OpenGLES2.0/3.1 to make it possible to run it both on Windows and Linux (Raspberry Pi) platforms.
- For Windows, GLFW is used as a windows/context manager for OpenGL, and glad is used as an interface to deal with setting up function pointers.
- For Raspberry Pi, we use the EGL interface, and Xlib for interaction with the X11 window system.
- For Math related to OpenGL, this game makes use of the GLM library.
- While the project template came with a setup for the tinyobjloader library, this has been swapped out for Assimp to load in the game object models.
- Bullet Physics is used as the physics engine for the game.
- For both the in-game menus, as well as the debug menu, Dear ImGUI is used.
- For development/debugging purposes, the windows build makes use of Visual Leak Detector.
- The tilemap used in the game was made in Tiled.
Credit

- This project was made for BUas, where I am following the Creative Media and Game Technologies study as a year 1 programmer.
- This game was made on the basis of the pitmpl24 project by Brian Beuken. See https://github.com/BredaUniversityGames/pitmpl24.
- Some of the basic classes and shaders are largely based off of the LearnOpenGL tutorials: https://learnopengl.com.
- Classes related to Bullet Physics are largely based on the examples in the book "Learning Game Physics With Bullet Physics and OpenGL" by Chris Dickinson.
- A small number of lines of code were written with the help of ChatGPT. This tool also helped me on several occasion when trying to figure out implementation details and when tracking down bugs or issues.
- Similarly to last project, the original Metal Gear map was found at https://www.msx.org/downloads/metal-gear-maps-1.
- This map was converted into a tilesheet by David Boyd.
- A number of solid snake models used were already provided in the pitmpl24 project. I do not know their original sources. Ask Brian Beuken. The only one used in the game is the model found in the Assets/asdasd.zip file.
- The model for the soldier used can be found at https://www.models-resource.com/psp/metalgearsolidportableopsplus/model/40281/.
- The model for the bullet used can be found at https://free3d.com/3d-model/bullet-67396.html.
Download
Install instructions
Windows
For the Windows version, simply download the zip, extract it to a location of your liking, and run the MetalGear3DUltraDeluxe.exe file.
Raspberry Pi / Linux
For Raspberry/Linux, the same process applies, but after extracting the zip, make sure to first mark the MetalGear3DUltraDeluxe.out file as executable for anyone, either by running the following command:
chmod a+x ./MetalGearUltraDeluxe.out
Or by using your distro's UI (for my Ubuntu-based Raspberry Pi, I can right click the file, select "properties", go to the "Permissions" tab and under the tab "Execute:" select "Anyone").
Development log
- Entering the World of 3DJan 27, 2025
Leave a comment
Log in with itch.io to leave a comment.